
I absolutely love when I stumble across well-built furniture that just needs a little love. So when I found a dresser at Goodwill for $14.99 I couldn’t pass it up. It’s solid wood and well-built. It just needed a facelift.

I knew once I saw it, it was going to be baby K’s dresser. When we moved into our home, the previous owner left a wire dresser in the master bedroom. We used that for baby K’s dresser, but it was ugly. 😵 So we had it tucked away in his closet, which left no room for storage in his room.
Now he has a dresser that is functional and nice enough to not be tucked away in the closet. 💙

Doing this makeover was a couple of weeks of work, mainly because the layered paint. I attempted to sand it off at first, but was going through multiple sandpaper sheets, which can get expensive.
Below I provide all the steps I took to achieve the new look, along with some tips & tricks I picked up along the way.
Tools & Materials for Paint Removal:
Electric sander
80 grit sand paper
120 grit sandpaper
Citristrip
Scraper
Paint brush
Metal bucket
Towels
Soap & Water
Tarp
Paint & Paint Supplies:
Paint color of choice
Variety of sponge brushes
Mini foam paint roller
Paint stirrer
Early American stain by Miniwax (optional)
Towel (if using stain)
Tools & Materials for Mounting Hardware:
Electric screwdriver
Tape measure
Pencil
5/16 inch drill bit
3/16 inch drill bit
Step 1: Remove all the hardware. I didn’t do this at first, but I recommend you do.
Tip: Before you remove the hardware take a lot of pictures so you remember how they should look when you put them back on.
Tip: Put all the screws in a ziplock bag so you don’t lose them.
There are several paint thinner options to choose from at a hardware store, but I went with Citristrip because it is safer to work with and it doesn’t have a harsh odor. It smells like citrus. Hints the name. 😂

Step 2: Pour the Citristrip into a metal container. Do not pour it into a plastic cup, it will eat the cup.
Tip: Shake the Citristrip well before opening.
Step 3: Apply a thick layer of Citristrip using an actual paint brush and not a sponge brush. Citristrip will eat the sponge within seconds, then you’ll have black particles all over the piece of furniture.
Tip: Leave the Citristrip on for about 30 minutes or until you see the paint bubbling.

Step 4: Use a scraper to scrap the paint off going with the grain of the wood.

Tip: I would highly recommend laying a tarp down before you start scraping the paint off. Citristrip is super messy!
Step 5: Once all the Citristrip residue has been scraped off, clean the wood with soap and water.
Step 6: If there is still paint residue, use an electric sander with 80 grit sandpaper to remove the remaining paint.

Tip: 80 grit removes paint, but be careful to not let the electric sander sit too long in one spot as it will remove the wood to.

Step 7: Once all the paint is removed, use the electric sander with 120 grit sandpaper to smooth the wood.

Step 8: Clean the wood with soap and water to remove all the saw dust.
Step 9: (optional) Make the holes for the hardware, if you are adding new.

The dresser didn’t have any hardware when I bought it, so I purchased 10 1/16″ pull bars from Wayfair to mount on the drawers. I looked at several places online and Wayfair had the best selection (in my opinion) and a good price point.
 For the screws to go all the way through the wood I had to use two different drill bit sizes because the screws that came with the drawer pulls were the same length as the front of the drawer, 1 inch. This is the standard screw size for hardware.

To do this I drilled the hole from the front back starting with the 3/16 inch drill bit, then I flipped the drawer over and used a 5/16 inch drill bit to drill from the back about half way in.
Tip: If you do this, be very careful when drilling with the 5/16 drill bit so you don’t go all the way through the wood.
Step 10: Apply 1 coat of primer. In the past I have used Bulls Eye 1.2.3 Primer and it works great!

I did not do this step, but if you plan to use Valspar furniture paint I highly recommend you do! It will save you a lot of frustration. The paint says on the label no priming or sanding necessary, but I assure you that’s not the case.
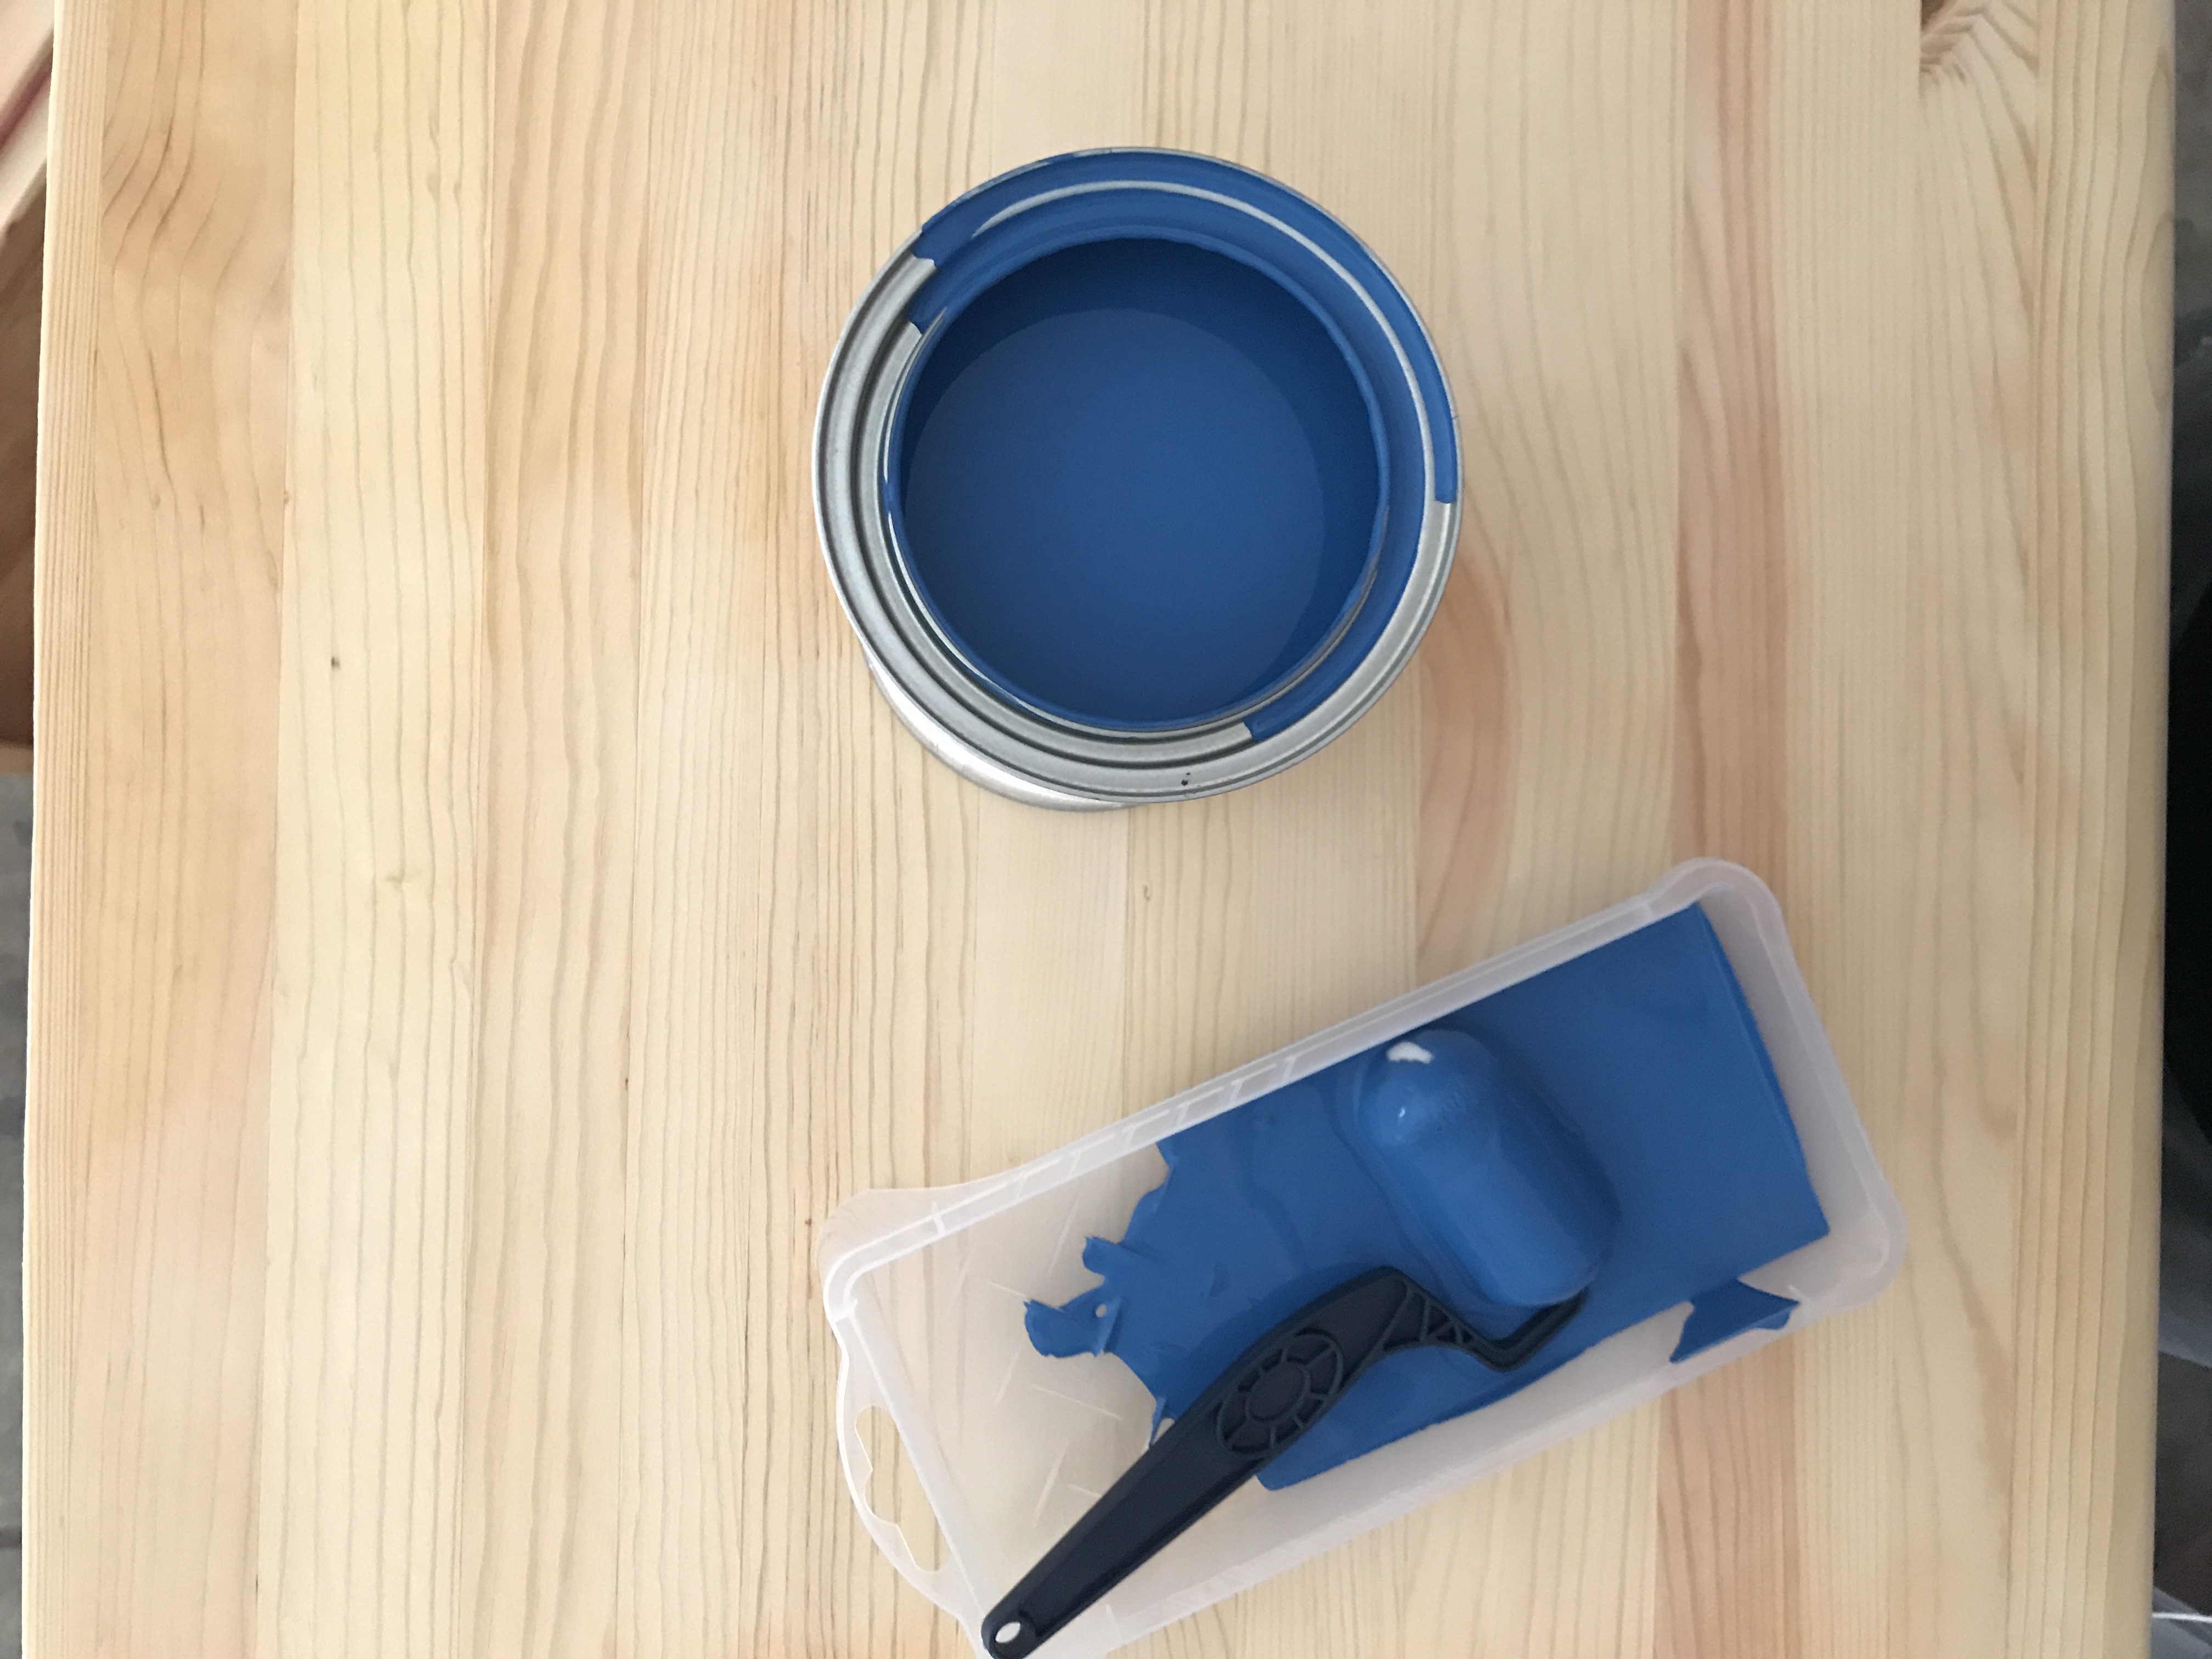
Step 11: Once the primer is dry, Apply a thin layer of paint using a sponge roller, going with the grain of the wood. Allow the paint to dry and repeat until done. Let the paint dry completely.

I applied a total of 5 coats before full coverage was achieved. This was the first time using Valspar furniture paint and probably my last. I had such high hopes, but the number of coats I had to apply has turned me away. The color options are amazing and the color itself is beautiful. It just took way too many coats of paint to achieve the color and I even sanded all the paint off before painting. I could only imagine how many coats it would have taken if I hadn’t. 😳

In the past I have used Annie Sloan Chalk Paint, which is absolutely AMAZING! But I didn’t want a chalky finish, I wanted a clean finish. Which Valspar furniture paint will give you, just be prepared to apply several coats.
The color I used was Deep Sea Diving. I wanted a dramatic blue and this one was it! The paint choice actually worked out perfectly. My hubby is a die-hard cubs fan and the Cubs new locker room is in gold and blue, so he loves the color combo too!

Ok, enough about the paint. 😂
Step 12: Mount the hardware.

Step 13: Mount the drawer tracks back on the dresser.
The drawer tracks that came with the dresser were covered in paint. Whoever had this dresser before did not choose to remove the hardware leaving all the drawer tracks covered in various paint colors. 😭 At first I was going to just purchase new ones, but then I looked at how much they were and was like, no.
I remembered purchasing a can of brass spray paint a while back for a different project, so I decided to spray paint the drawer tracks instead of buy new ones. Lucky for me the hardware I purchased was brass so it all worked out! 💃🏻


Step 14: Mount the legs.
I LOVE mid-century pieces. Especially the legs. The dresser is a lot smaller than a standard sized one, so I wanted to give it a lift.

When I was at Lowe’s purchasing the other materials I ran across these legs. I just applied one coat of Early American stain by Miniwax and wiped it off a few seconds after applying to get the color I wanted. If you like the darker color I suggest leaving the stain on for about a minute before wiping it off.
The legs were $2 each, so I spent a total of $8 for the legs and $8 for the hardware to mount the legs. $16 is a less expensive than the ones I saw online so I was super happy!
Step 15: You’re done! Now you can style your new piece of furniture!

I was so excited to get the dresser in baby K’s room. 💙 As soon as it was positioned, I started putting his clothes in the drawers. Now he has his very own dresser and I couldn’t be happier.
P.S. I painted the baseball and car paintings that are hung on his wall. When I was hanging them up he was pointing and saying car & ball. It was the cutest.
In total we spent about $40 on the necessary supplies i.e. paint, sponge brushes, Citristrip & $60 on the hardware & legs. So a total of $100, which is way less expensive than buying a new dresser that is real wood.

Well friends, that’s it for this post. I hope you enjoyed it and leave here feeling inspired.
Until next time. Xo
Shop This Post


2 Comments
Areeba
Wow! What a makeover Carrie and also super impressive!
Carrie
Thank you Areeba! It was a lot of work, but well worth it!