So I have been swooning over shiplap since I was introduced to it on Instagram. I am a DIYer so I figured I would attempt it. It actually isn’t terribly difficult, but it had its moments. Probably because patience isn’t my strong suit. The great part of this tutorial is I will be pointing out my pain points in the hopes it will spare you some heart ache. However, I am so happy I did it! If you swoon over shiplap too, then read on.
First things first! Let’s go over some lessons learned in the hopes your project goes smoother than mine. 😁
Lesson learned 1: Make sure you purchase decent grade wood. I mean it is going on your wall. I actually bought good wood & didn’t have any issues, but I watched & read several tutorials and this is the one thing people kept pointing out so I want to point it out to you. I purchased birch wood. It was $24.95 a sheet, but it has a very smooth finish & it was easy to work with. Using a cheap grade could result in warped boards. The wood was the biggest expense, but you will be happy you invested in a quality wood when you aren’t doing touch-ups a few weeks later.
Lesson learned 2: Paint your wall the same color you are painting the shiplap before you secure the shiplap to the wall. I did not do this, which resulted in me buying a tiny paint brush to get in all the cracks. It didn’t help that the wall was a dark gray to begin with. My husband even told me to paint it first, but in Carrie fashion I thought my way was right. Well it wasn’t. 😑
Lesson learned 3: Buy a nail gun. Or rent one. Or borrow one. Unless you don’t need to use your arms for the next few days, buy a nail gun. I hammered in roughly 30 nails a board. Somewhere in the range of 800 nails. My arms are starting to hurt even thinking about it. I couldn’t pick my 22 lb 1 year old up without moaning for the days following. If you want to do it the old fashion way, then you do you, but you have been warned. 😂
You still want to do this? Sure you do! It actually wasn’t hard. It was just a lot of stop & go. I would have gotten this done in a lot less time if I didn’t have kids, a husband, or a job. 😂 But I do and I wouldn’t change a thing about my life. Except buying a nail gun before I started this project. 😁
Materials:
- 4×8′ sheets of wood (I used 5 birch wood sheets total but this is all dependent on the width of the planks you want & the size of your wall)
- Pencil
- 1 lb. box of 1 1/4″ finishing nails
- Liquid nails (I used 5 total)
- Paint (I used Gallery White from Behr)
- Wood filler
- 120 grit sand paper block
- 120 grit flat piece of sand paper
- Outlet extender box (if you have outlets on your wall)
Tools:
- Table saw
- Jig saw
- Circular saw
- Tape measure
- Hammer or nail gun
- Caulking gun
- Paint brush or roller.
- Spatula for wood filler
- Razor blade
The cuts will all be dependent on the size of your wall. My wall was about 14 feet wide & 9 feet tall. I decided to go with boards 6 1/8 inch wide based on how large my wall is.
Step 1: measure your wall to figure out the amount of wood you will need. Once you have all your measurements purchase the wood & gather all your materials & tools.
 Step 2: Paint your wall the same color you plan to paint your shiplap. This is optional, but if you have a dark colored wall & plan to paint the shiplap white I would recommend painting the wall. I used Gallery White from Behr.
 Step 3: Using the tape measure & pencil mark where you want to make the cuts. My amazing FIL did most of the cuts as well as measured everything out. I assisted a little bit, but it was mainly him. We used a circular saw. If you have outlets you will need to use a jigsaw to cut the outline of the outlet(s). You can have Lowe’s cut the boards, but precision is key.
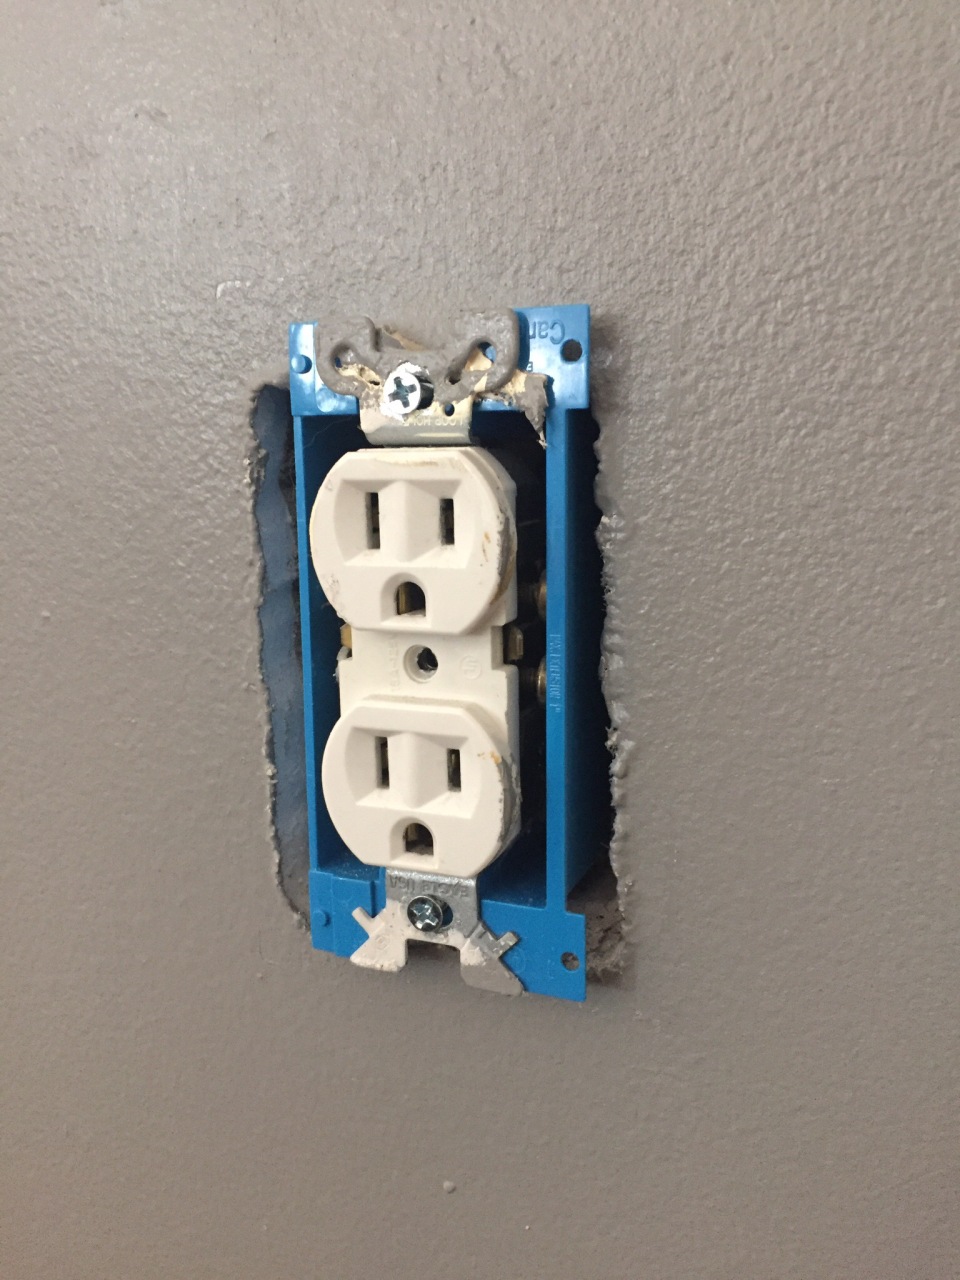
Step 4: If you have outlets you should install the outlet extender box before applying the shiplap. I did not do that, but again…lesson learned. We had two outlets. My FIL came to the rescue again and installed them for me while I was away on a business trip, but I found this very detailed tutorial on how to install them.

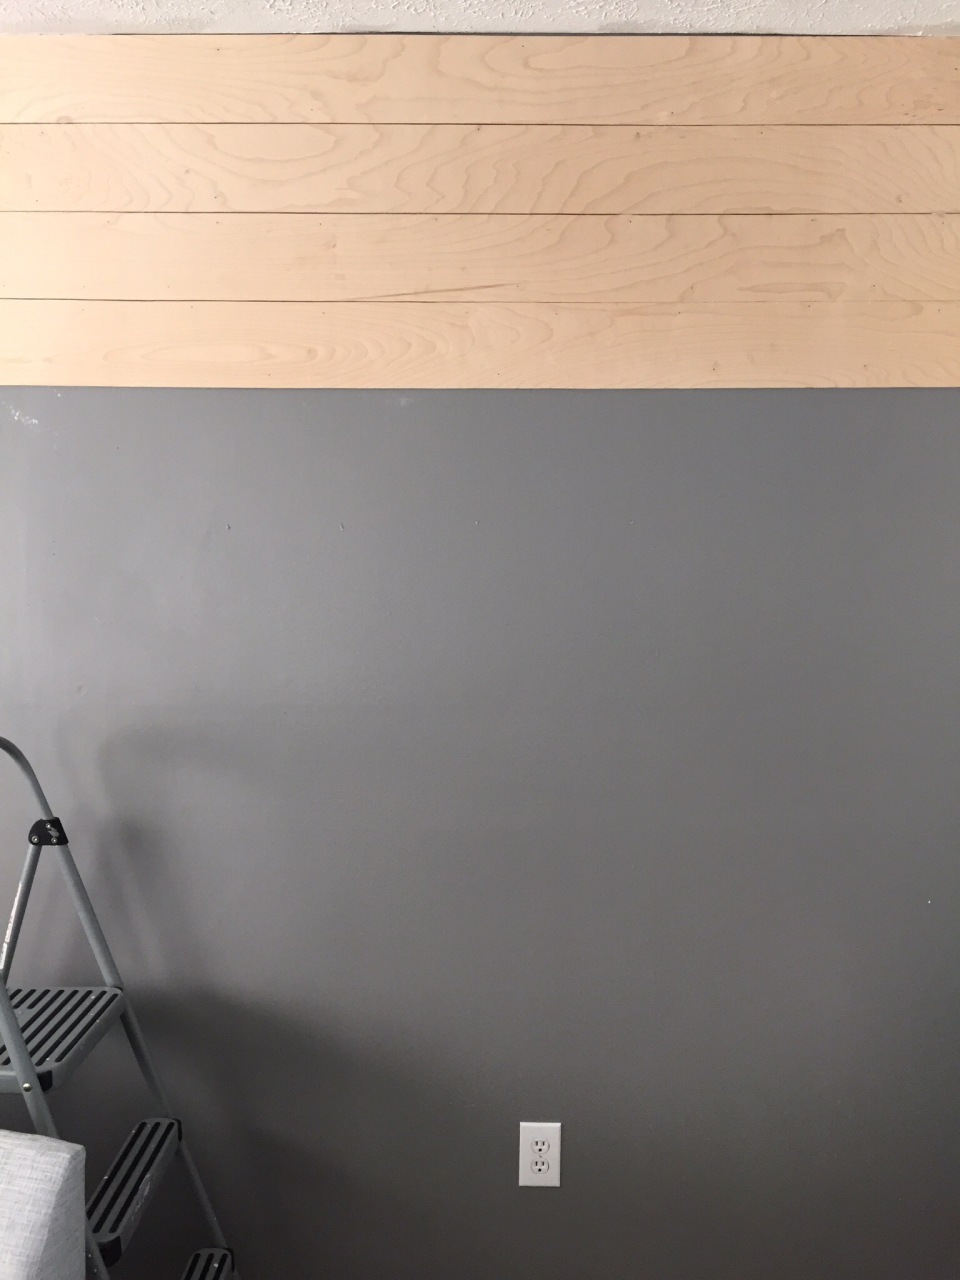
 Step 5: Using your caulking gun apply liquid nails to the first board. I started at the top and worked my way down. I made sure to press the edge up against the corner and hold it for about a minute. Note: I wanted each row to look like 1 long board, but there are actually two. If you don’t want that look, you will need to alternate the long & short boards on each side.

 Step 6: Using a hammer or nail gun. Hammer finishing nails in each of the 4 corners of the board. You should hammer a nail in about every 4 inches along the top and bottom of each board.
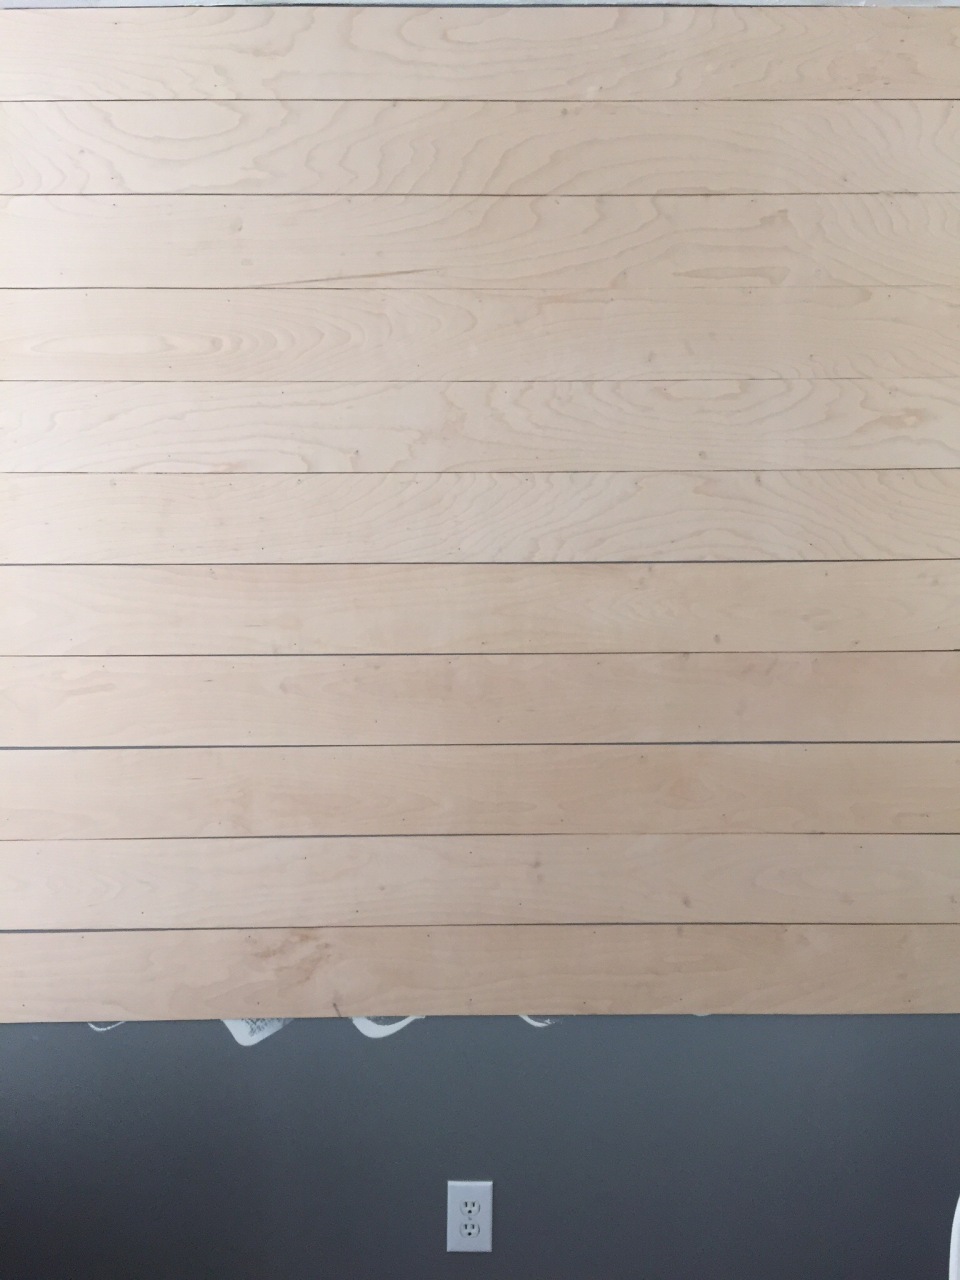
Step 7: Repeat steps 5 & 6 until all the boards are up.


 Step 8: Apply wood filler to all the nail holes and any other places desired. I wanted each row to look like 1 long board so I applied wood filler where the two boards connected.
Step 9: Using the 120 grit sand block, sand down all the wood filler to a smooth finish.
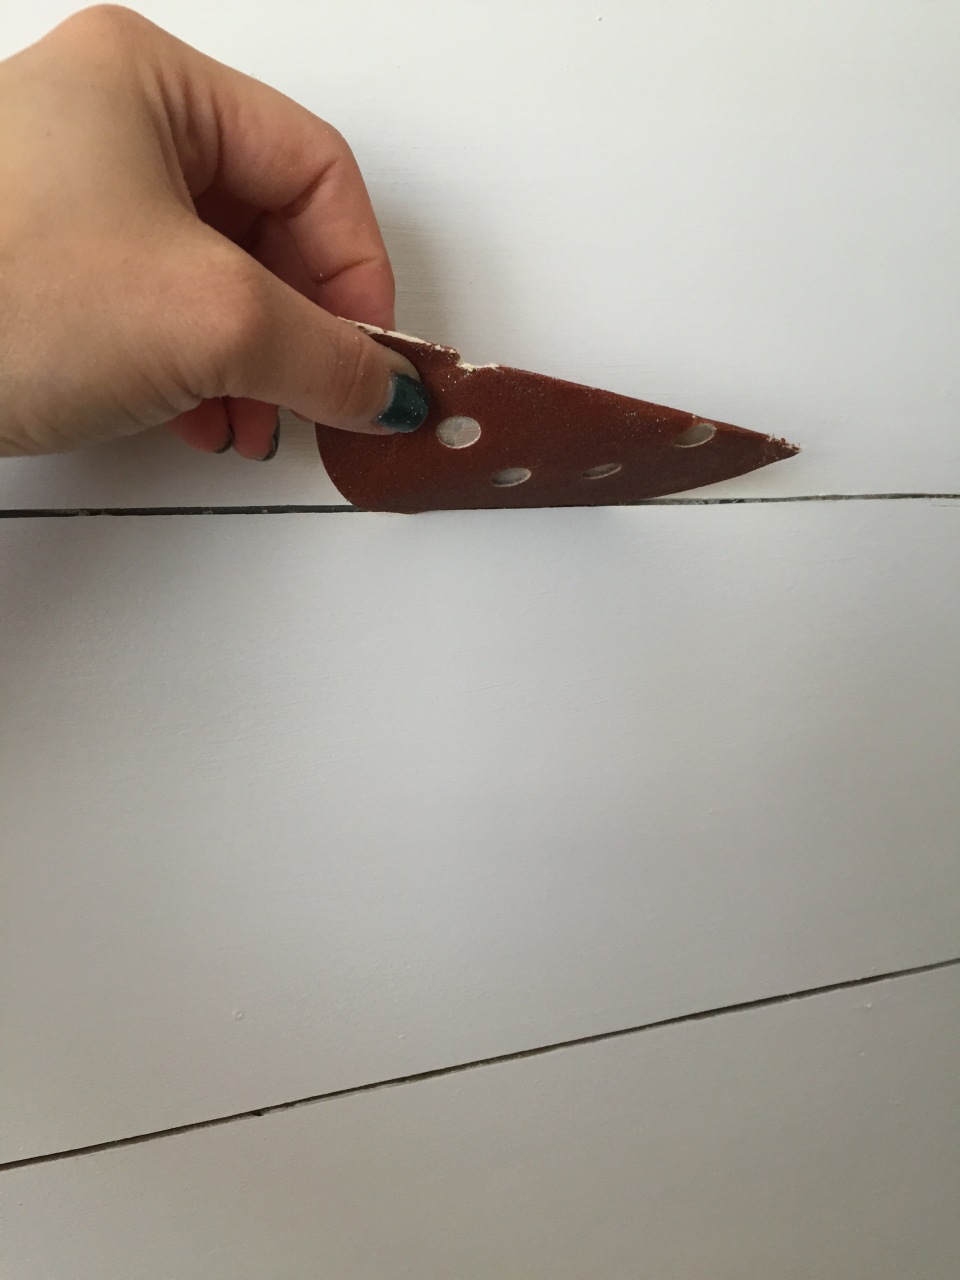
Step 10: Using the flat piece of 120 grit sandpaper sand in between the planks for any hard to get to debris from the wood filler.
Step 11: Using a damp towel, wipe the boards to remove any dust or debris from sanding.
Step 12: Have a drink or 3 if you just did all that by hand & you don’t have to drive anywhere. 😂
Step 13: Paint your wall! I didn’t use a primer. I applied two coats total waiting 24 hours in between coats. Let the wall dry for 48 hours. I would recommend dabbing your brush on water to thin out your paint when painting in between the boards. If your paint is thick it can cause the paint to build up in the cracks.
 Step 14: Using the 120 grit flat sandpaper smooth out any areas between the boards where paint has built up. Since I did this myself, I had several areas where this happened.
 Step 15: Wipe the wall down with soap and water.
Step 16: Decorate away! Because I had just put so much time into this wall I didn’t dare use nails to hang anything. I used the M3 strips. You can purchase these almost anywhere. I got mine from Lowe’s.
 Congratulations you have created a beautiful shiplap wall. The total cost for the wood, outlet extender boxes , finishing nails, & liquid nails was about $170. I had everything else on hand. It isn’t the most inexpensive DIY project, but it was a whole lot less than contracting it out.
I hope you found my tutorial helpful! If you have any questions please feel free to ask. Have a great day. Until next time. Xoxo


