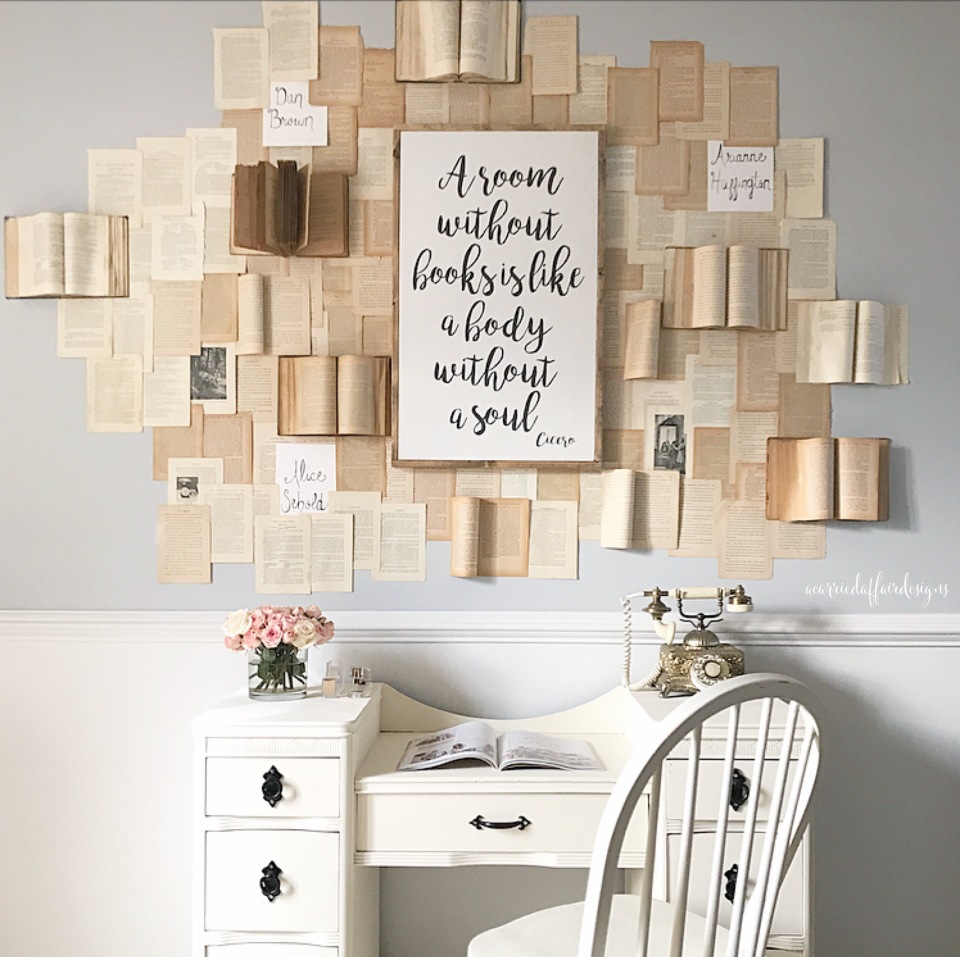
I have been asked by several people how I created my book wall, so I decided to blog about it. 😊 I originally found this idea from Erin @cottonstem on Instagram. It was home decor love at first sight! I had been wanting to do something with the bare wall in the sitting room above my salvaged desk, so I decided to do a take on Erin’s idea.
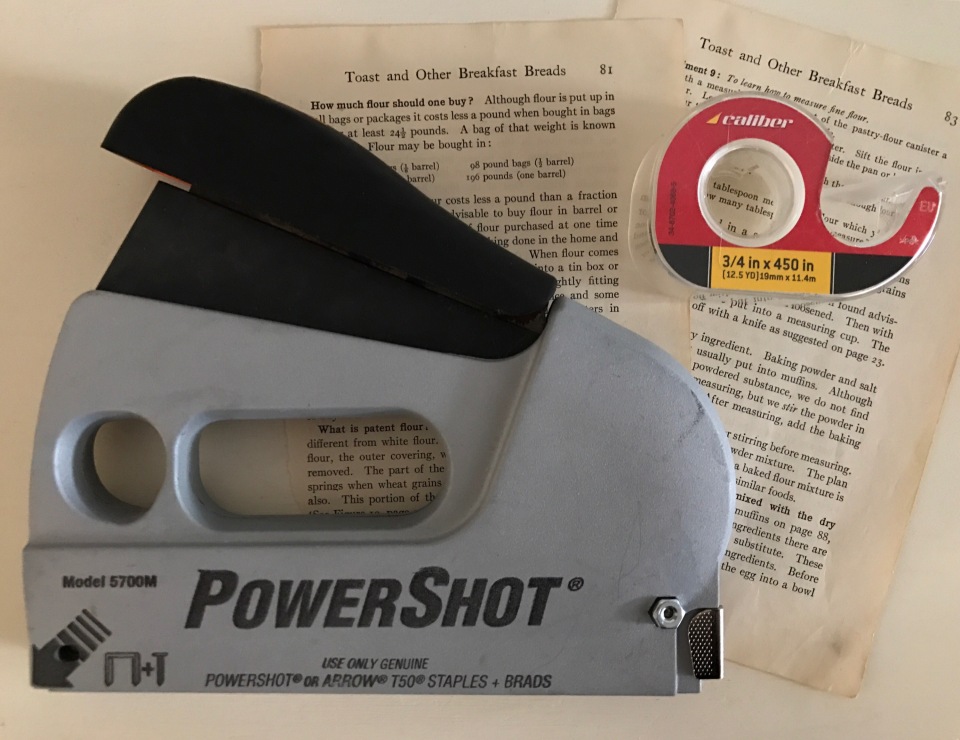
At first I wasn’t sure how to approach this project since I didn’t want to hammer a lot of nails into the wall. So I got creative and ended up using a staple gun and scotch tape.
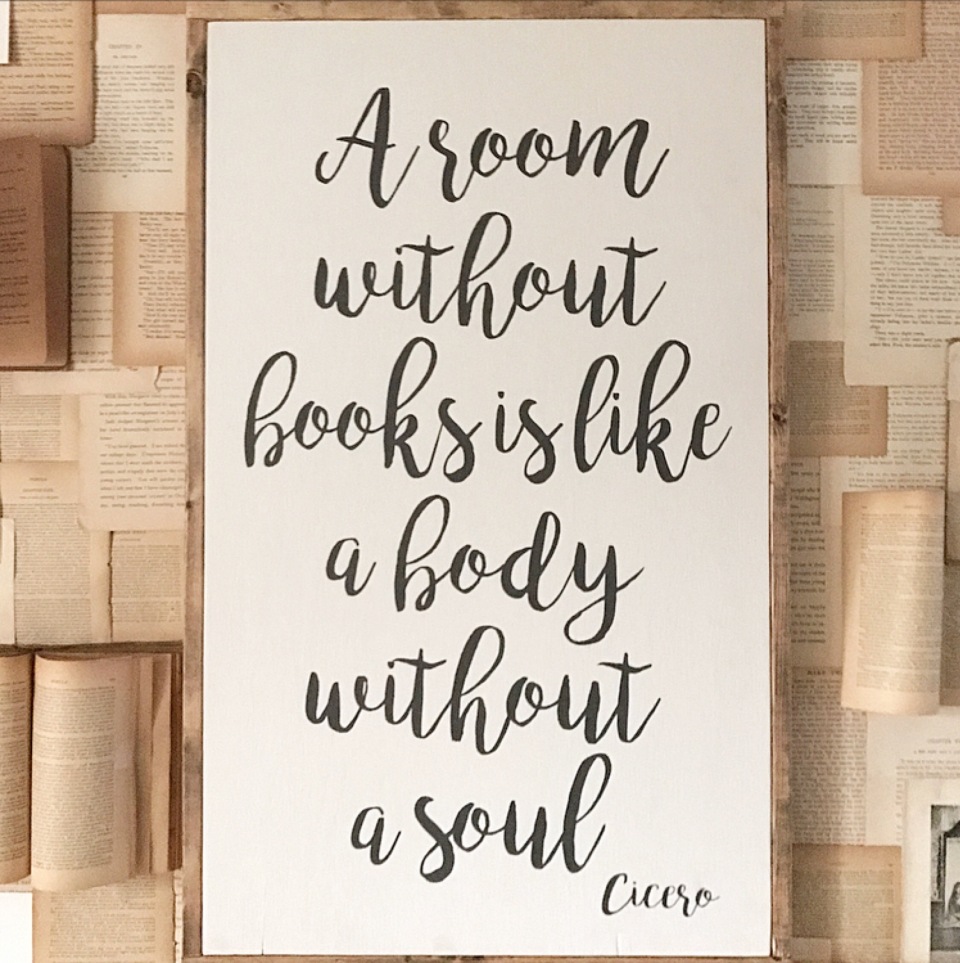
The first thing I did was hang the sign. Isn’t it to die for?!? 😍😍
I had my very talented friend Nichole @therusticroost custom make it for me and I couldn’t be happier with the way it turned out. 😍 You should check her shop out on Instagram @shoptherusticroostco or click here to be taken directly to her shop.
Once I had the sign hung, I started taping the old book pages to the wall around the sign then worked my way outwards from the sign.
Tip: I looped the tape (sticky side out) and stuck it on the back of the book pages so the tape would be hidden.
Side note, I got the old books from various flea markets and antique stores.
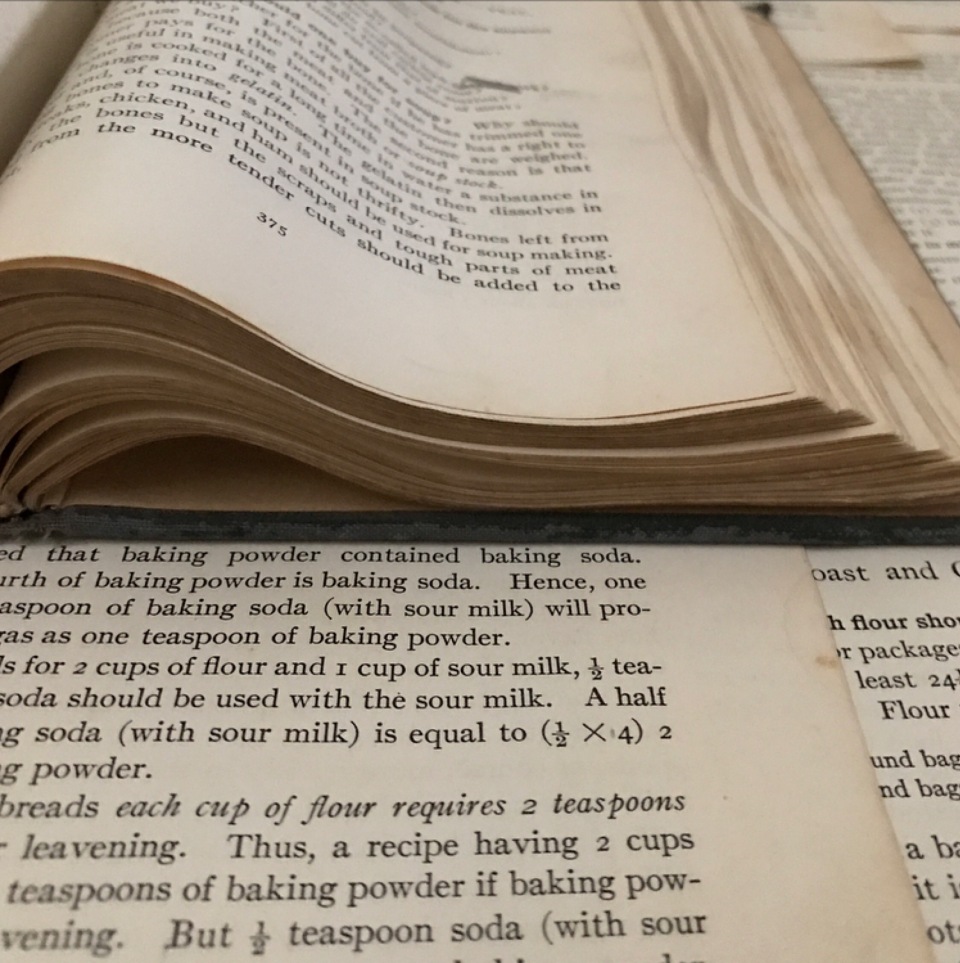
After I had all the book pages secured to the wall I stapled the actual books to the wall overlapping some of the book pages.
To get the flared book pages for the actual books I first stapled the cover to the wall allowing the pages to hang freely, then stapled about a half inch of pages at a time to each side until I had 1 page left on each side.
Stapling the pages to the cover a little at a time gave the book pages that bunched up volume look.
For the last two pages I looped scotch tape (sticky side out) and taped down 1 page on each side. Doing this covered the staples.
If you want the pages of the book to hang freely, just staple the cover of the book on both sides to the wall and let the pages fall.
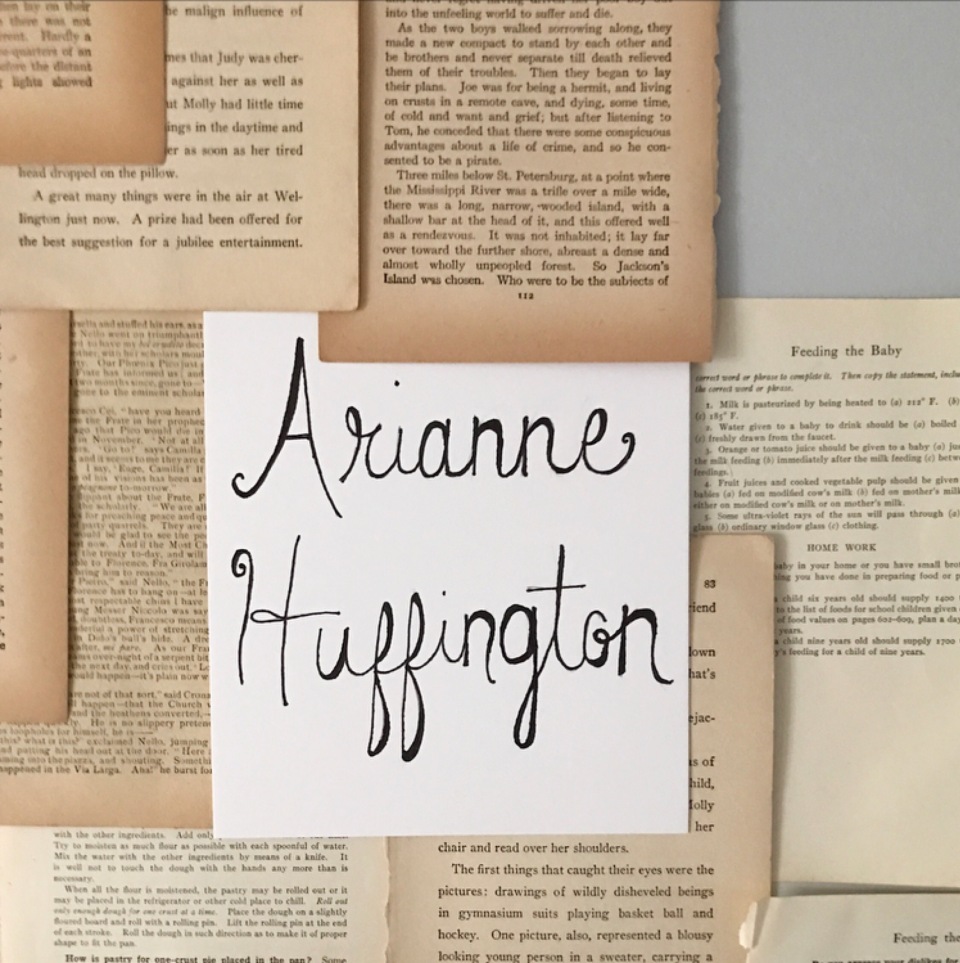
To give the wall a little more originality, I wrote a few of my favorite authors names (Alice Sebold, Arianne Huffington, & Dan Brown) on mixed media card stock with a black sharpie marker and then taped them alongside the old book pages.
Honestly, there wasn’t a real method to my madness. I simply used the sign as a focal point and worked my way out. I overlapped the pages and placed the books where I thought they would look good. I continued until I was happy with how it looked. That’s really it. 😊
Well friends, that’s it for this post. For those of you that asked about how I orchestrated this project, I hope this helped and you leave here feeling inspired. Thank you for the constant support. Until next time. Have a lovely day. Xo









One Comment
the confessions of a wanderer
Omg this is beautiful… I would love to put something in my home like this one day ?