Have I told you how much I love baking?!? It really is my happy place. I dream of opening a bakery with all white marble and shiplap. Maybe one day. ❤️ Until then I’ll be content baking in the comfort of my own kitchen.
I have really wanted to try painting cookies with luster dust for awhile now, so I finally took the plunge. It was so easy! Seriously, I don’t know why I was so afraid to attempt it, but now that I have I will definitely be using luster dust on the regular.
First things first, the cookies! I used Wilton’s Sugar Cookie Recipe. I could attempt my own, but why when this recipe is perfect?! I mean why try to recreate the wheel?! If you don’t want to make the cookie dough from scratch, store bought will work just as well. I mean this post is about cookie decorating and royal icing not the cookie dough. 😂

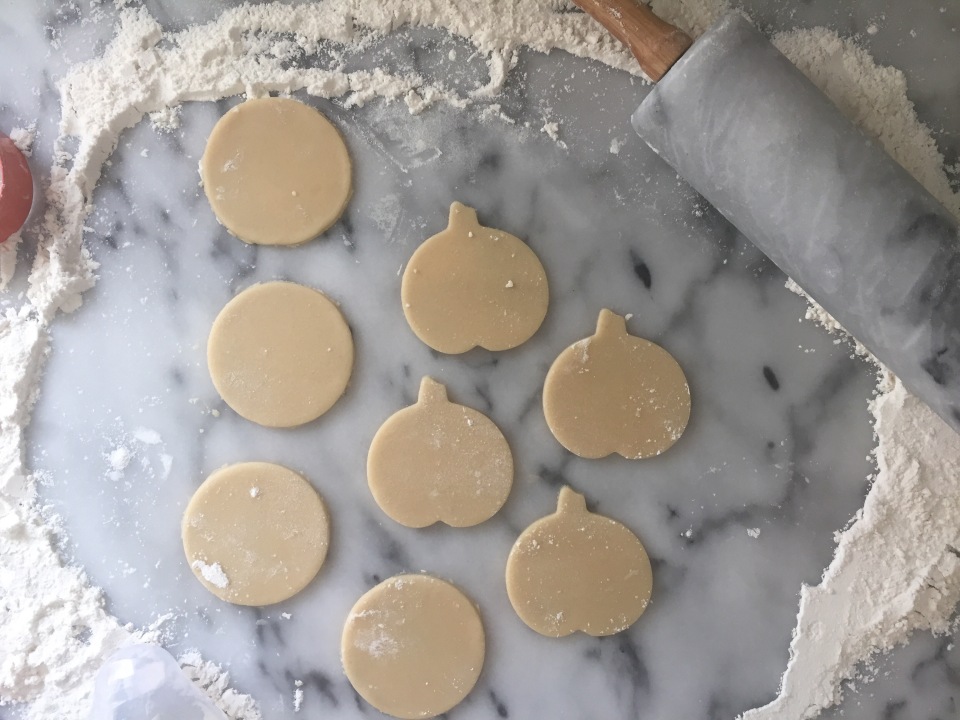
Cookie cutter hack: If you don’t have a circle cookie cutter the Tommee Tippee baby bottle lids work great! 😊
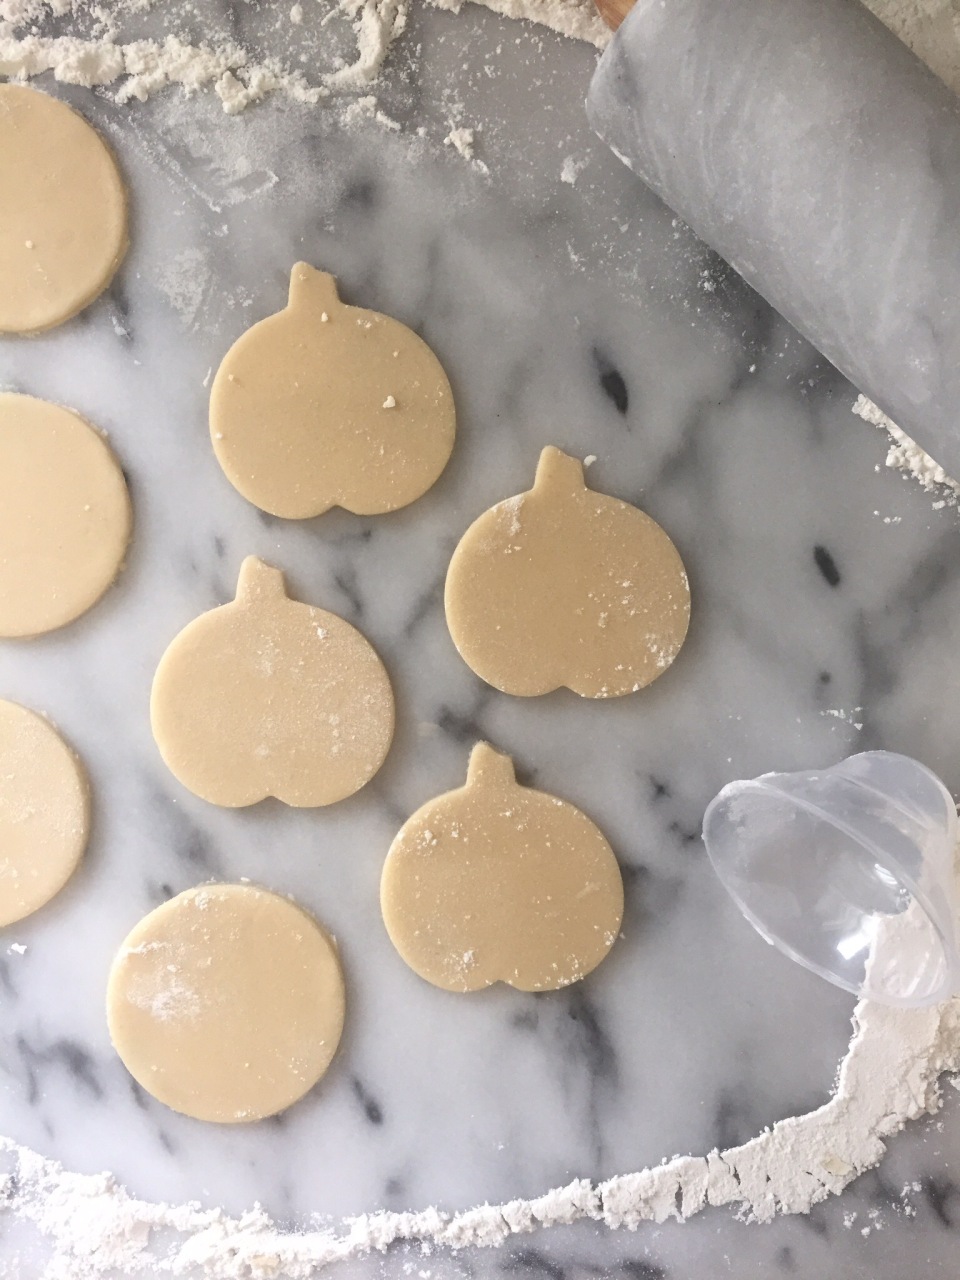 Now that all the cookies are baked we need to make the royal icing. I make my royal icing from scratch. Props of having an executive chef for a husband! He teaches me so much. Thanks babe!
This recipe yields 3.5 cups
Royal Icing Ingredients:
- 3 egg whites
- 4 cups of powdered sugar
- 1 tsp of vanilla extract
 Step 1: In an electric mixer add the egg whites & vanilla extract and whip until frothy/foam like.
Step 2: Slowly add the powdered sugar to the egg & vanilla extract mix.
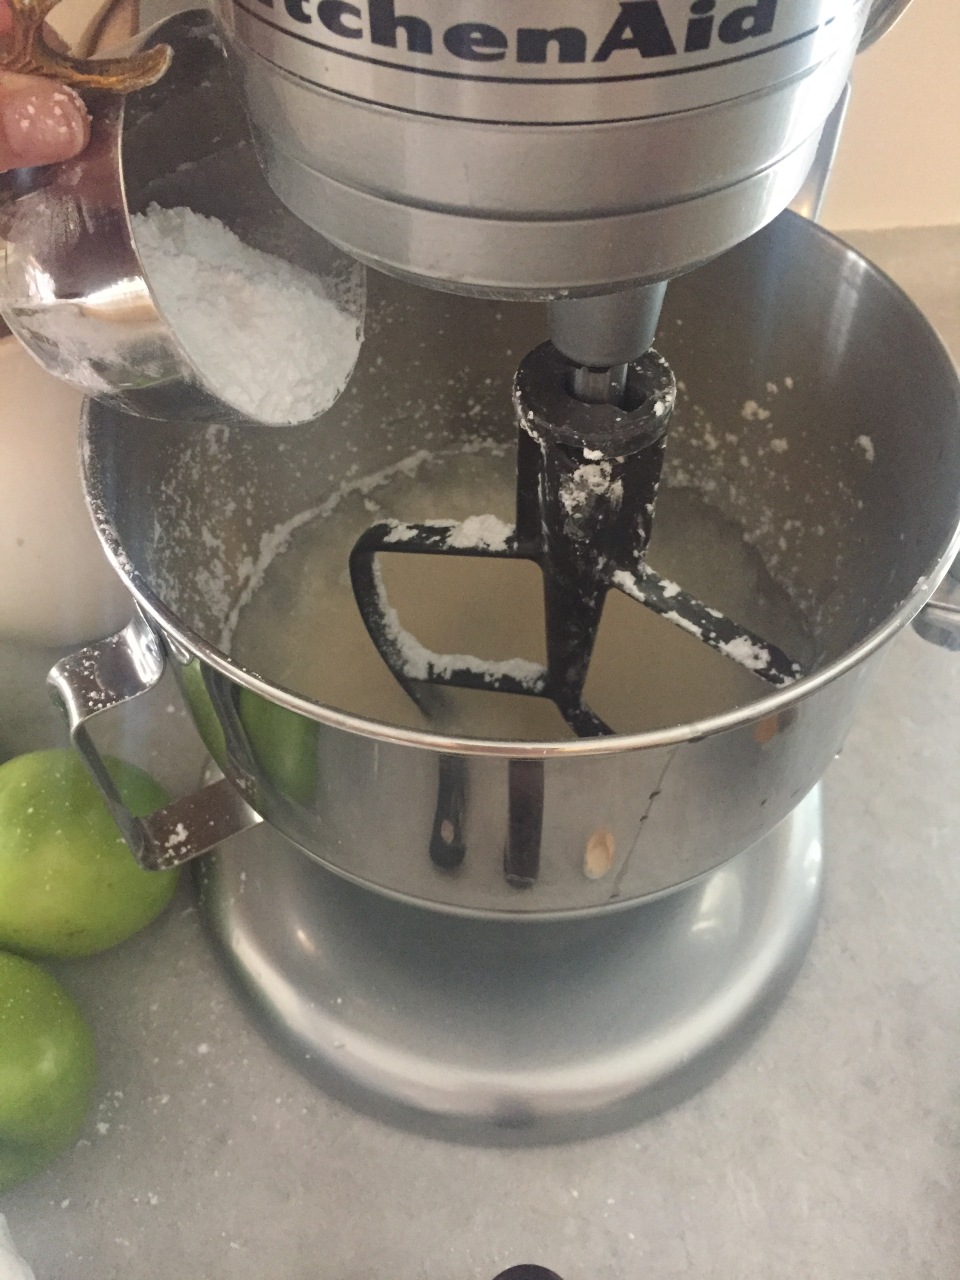 Step 3: Once all the powdered sugar is added turn the mixer on high and whip until you have a firm & glossy texture.
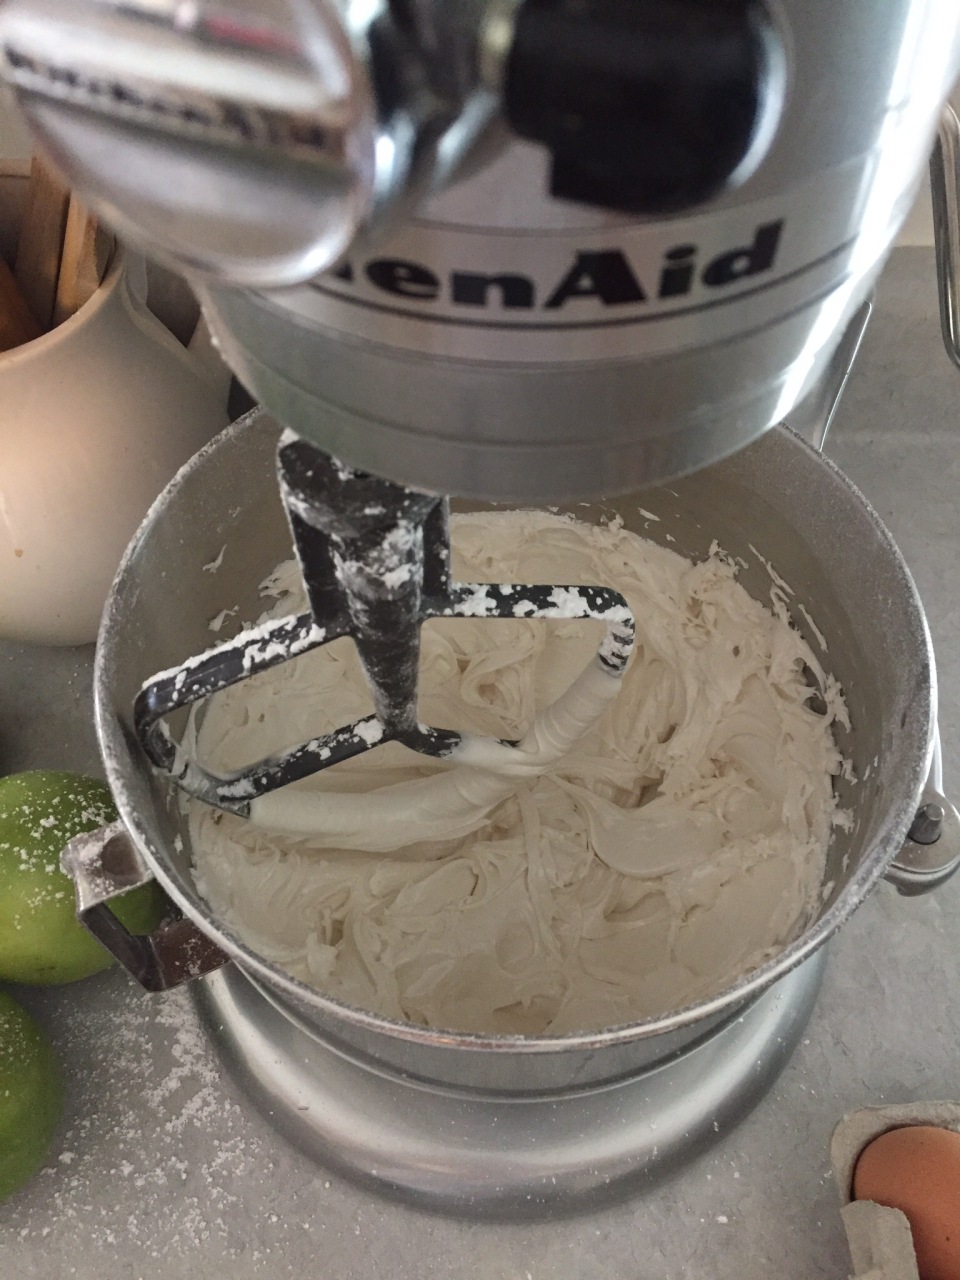 Step 4: You will need to split the icing. Some will be for outlining and the remainder will be for filling in the cookies.
Optional: You can use gel food coloring to color your icing. If you do use a little at a time. You can always add more, but if you add too much it is ruined.
Step 5: Put the icing you are using to outline in a squeeze bottle or you can put it in a sandwich zip lock bag and cut a small slit in the corner of the bag. You might need to add a very small amount of water if the icing is too firm. Again…a VERY SMALL AMOUNT.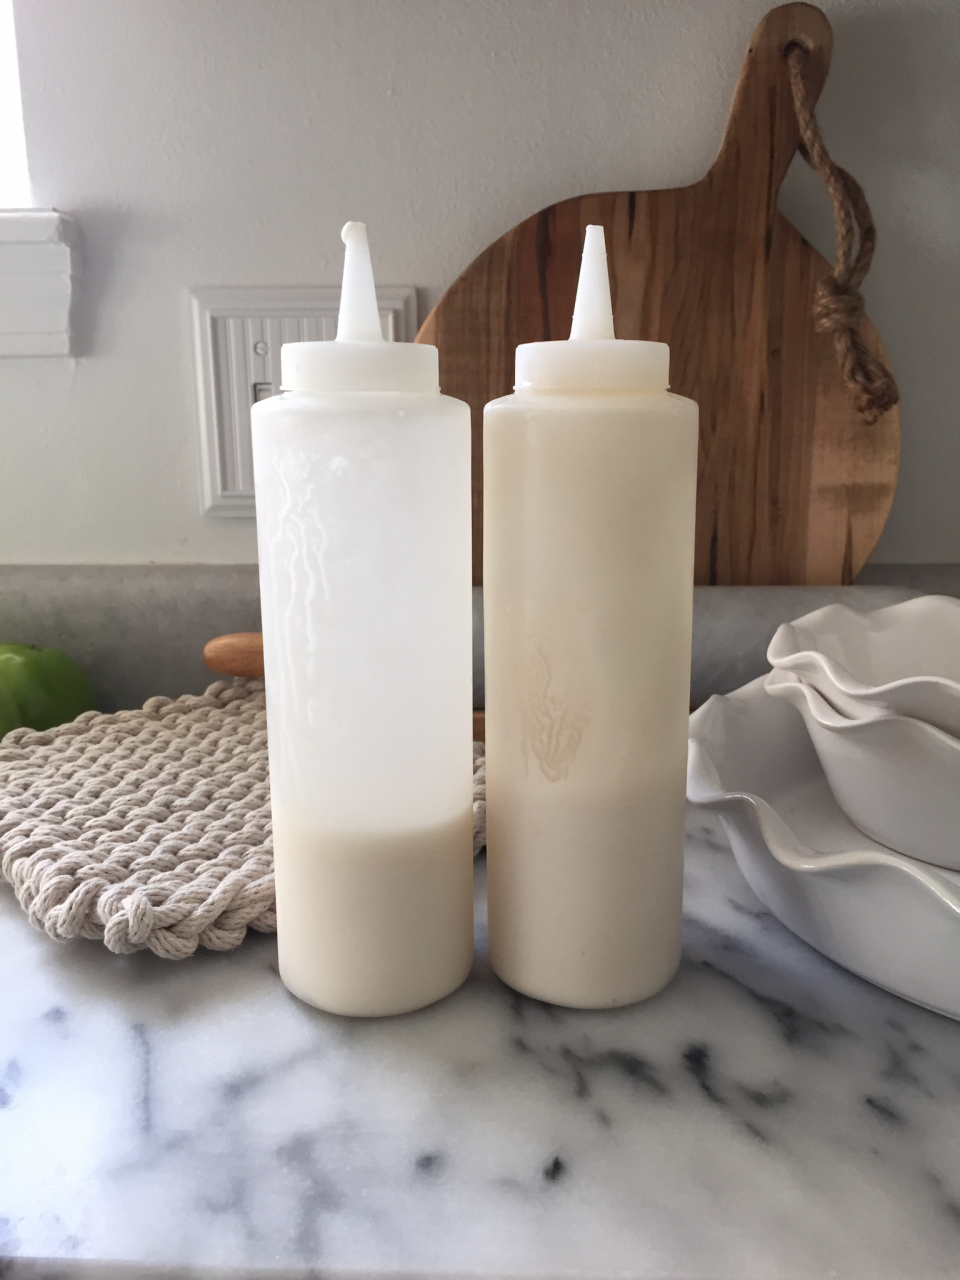 Step 6: Outline the cookies as desired.
 Step 7: Using the remainder of the icing add a little water to thin the icing out. The icing needs to be thinner than the icing you used to outline the cookies.
Step 8: Once you have achieved a thinner consistency add the icing to a squeeze bottle or ziplock bag and fill in the cookie. Use a toothpick to even the icing out in your cookie if needed.
 Step 9: Let the cookie dry for at least an hour before you start painting with the luster dust.
Now that the icing has dried it’s time for the fun part! Painting the cookies.
Materials:
- Luster dust
- Vodka
- Paint brush
 Luster dust can be found at Hobby Lobby, a baking supplies store, or Amazon. I purchased actual luster dust, which means it has a shimmer to it. You can also you food color dust. Food color dust is usually matte and doesn’t shimmer.
Step 1: Add a small amount of luster dust to a small bowl.
 Step 2: Add in a few drops of vodka until you achieve the right consistency. Sorry I didn’t measure. I just added drops until it was the texture I wanted, but make sure you add the vodka to the luster dust and not the other way around.
Step 3: Using your paint brush, paint away! Make sure not to press down too hard or it could mess up the royal icing.
 Step 4: Allow the paint to dry and serve your pretty cookies. Or don’t because they are so pretty. 😂
 I hope you enjoyed my post! If you use my recipe I would love to hear about it. Thanks so much for stopping by friends. Until next time. Xoxo


